
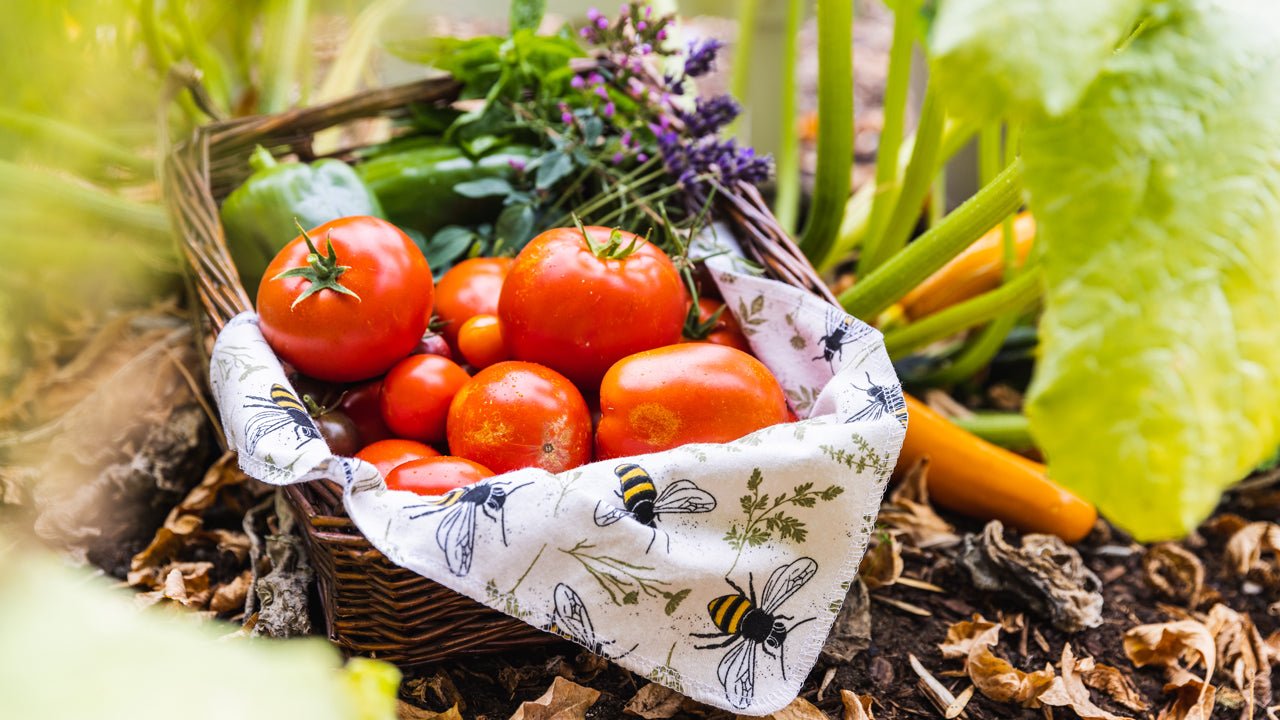

The hours of nurturing and tending to our gardens are drawing to a close. Whether you’ve grown plump tomatoes, abundant zucchinis, or vibrant strawberries, the bounty of summer is a testament to your dedication.
Now it's time to shift gears from cultivating to preserving. The art of preserving your summer garden harvest allows you to savor the flavors and vibrancy of the warmer months even as winter approaches. From canning and pickling to freezing and drying, there's an array of techniques to ensure that your hard-earned produce doesn't go to waste. The method you choose might depend on how much storage space you have available, how you plan to use your produce, and much more.
Join us on a journey of exploration as we delve into the world of preserving – a skill that connects us to age-old traditions while offering a taste of sunshine in every bite, even on the coldest of days. In this blog post, we'll unravel the secrets of successful preservation, how to decide between freezing, drying, and canning, and learn all about cleaning produce for the best possible preservation. Let's celebrate the culmination of your gardening efforts by learning how to capture summer's essence and extend its delights for months to come.
Making Stock

There is so much produce you can use throughout the summer months and early fall through cooking. One of our favorite ways to preserve the harvest, and make the most out of everything our garden grows, is to make vegetable stock to be used throughout the fall and winter.
Here’s everything you’ll need:
- Scraps from your garden, such as onion ends, garlic cloves, carrot tops, potato skins, etc.
- A large pot or crockpot
- About 6-8 cups of water
- Bay leaves, peppercorns, and salt (if desired)
- Jars or containers for freezing
Making your own stock at home is not only cost effective, but it allows you to use every piece of your summer garden. The scraps can also still be composted after being used to make stock, so you don’t have to worry about generating waste that can’t be used effectively.
In a large pot or crockpot, place your vegetable scraps. If you have any leftover chicken carcasses or beef bones, you can also add them to make chicken or beef stock. Cover scraps with water–you’ll need about 6-8 cups depending on the size of your pot or crockpot. Then you can add any flavorings, such as bay leaves, peppercorns, and salt. If on the stovetop, bring to a rapid boil, then reduce to a simmer for about 1-2 hours. If using a crockpot, keep on low for 6-8 hours.
Once your stock is ready, you want to double strain it to remove any sediment. Then, place into jars and let cool. You have a few different options: if you want to can this stock, you can. But if you want to freeze it, that works well too!
Flavorful soups are just a few easy steps away once winter is here. Just defrost or open a can of stock and use it to create a soup you can cuddle up with.

Freezing, Drying, or Canning?
There are many preservation methods available to us. Whether you decide to freeze, dry, can, or pickle your summer produce is entirely up to you. Here is our breakdown of our 3 favorite methods, as well as their pros and cons.
Canning
Canning is an artform on its own–and one that sometimes feels as if it has been lost to time. However, there are many valuable resources out there to help new canners feel comfortable.
Here are 2 main approaches to canning: boiling water canning method and the pressure canning method. Fruits and tomatoes can be processed using a boiling water method, but the United States Department of Agriculture recommends that pressure canning is the only safe canning method for preserving low acid foods, such as vegetables, poultry, and meats.
Canning can be a little overwhelming to beginners, as there are many safety precautions you need to follow. Our best advice is this: be organized and prepared from the beginning. Carefully read all canning instructions and recipes, including the manual for your pressure canner. Always use new lids on your jars and ensure that jars are clean and sterilized.
The benefit to canning is that you don’t need to take up room in your freezer–but canning does require a larger pantry or storage space where everything can be stored and remain clean and dry.
Pros: Longer shelf life for your produce, can share with friends and family easily
Cons: Requires additional storage, requires more time
Freezing
For those overwhelmed by the canning process, freezing is another option for preserving your summer harvest. Unlike canning, it requires very little time and effort: you’ll just need your favorite reusable bags (we like these ones) or containers. Once the produce is cleaned well, let it dry on some UNpaper® Towels for a while, then chop up how you like or keep whole, and then freeze.
For most freezers, you’ll need to use anything you freeze within 6 months for the best results. That means if you freeze produce in September, you’ll need to use everything by March or April at the latest. For most of us, this is probably enough time–but it depends on how bountiful your garden was this year and how many are in your family!
Pros: Requires less time up front
Cons: Requires additional room and organization in your freezer, has a shorter shelf life
Drying
Drying is a great way to preserve items such as onions and garlic for the winter months.
One method you can use is allowing your onions and garlic to cure for about 5 days in the sun–this is a great, natural option that requires no additional equipment. Just make sure onion and garlic necks (or stocks) are completely dry–you’ll want no additional moisture after curing. Then, you can use either reusable produce bags or pantyhose to store them in your pantry for up to 6 months. You’ll just want to ensure that they stay relatively cool and dry!
Another method requires a dehydrator or oven. Both methods work well for drying, but a dehydrator often uses less energy than keeping an oven on for hours at a time. Plus, in the hot summer months, reducing appliance usage matters! You can use a dehydrator to dehydrate chopped onions and garlic to make your own onion powder and garlic powder; you can also dry summer fruits to add to oatmeal and muffins throughout the winter months; and you can make additional seasonings with scraps such as pepper flakes.
Drying, whether you’re using an oven or a dehydrator, is a time consuming process and like canning, requires stringent attention to detail and cleaning to ensure food safety.
Pros: Can preserve additional produce, can make your own seasonings
Cons: Potentially requires additional equipment, time consuming

Cleaning Produce for Preservation
Cleaning produce, as we know, helps reduce bacteria that we may consume. It’s also especially important to clean produce effectively before preserving, especially for canning, as we don’t want additional bacteria to ruin our hard-earned bounty!
The best cleaning method starts with cleaning your work area and sink: we like using hot water and vinegar to help clean everything well. Vinegar is a great option because it is inexpensive and perfectly safe to eat. For most produce, the best option is to fill your sink with clean, lukewarm water and add a generous amount of white vinegar. Then simply float your produce for about 10 minutes.
Some produce, like leeks or leafy greens, might need additional help by separating leaves to ensure all dirt and sediment are removed.
Drain clean produce on clean UNpaper® Towels until completely dry.
Participate in a harvest swap
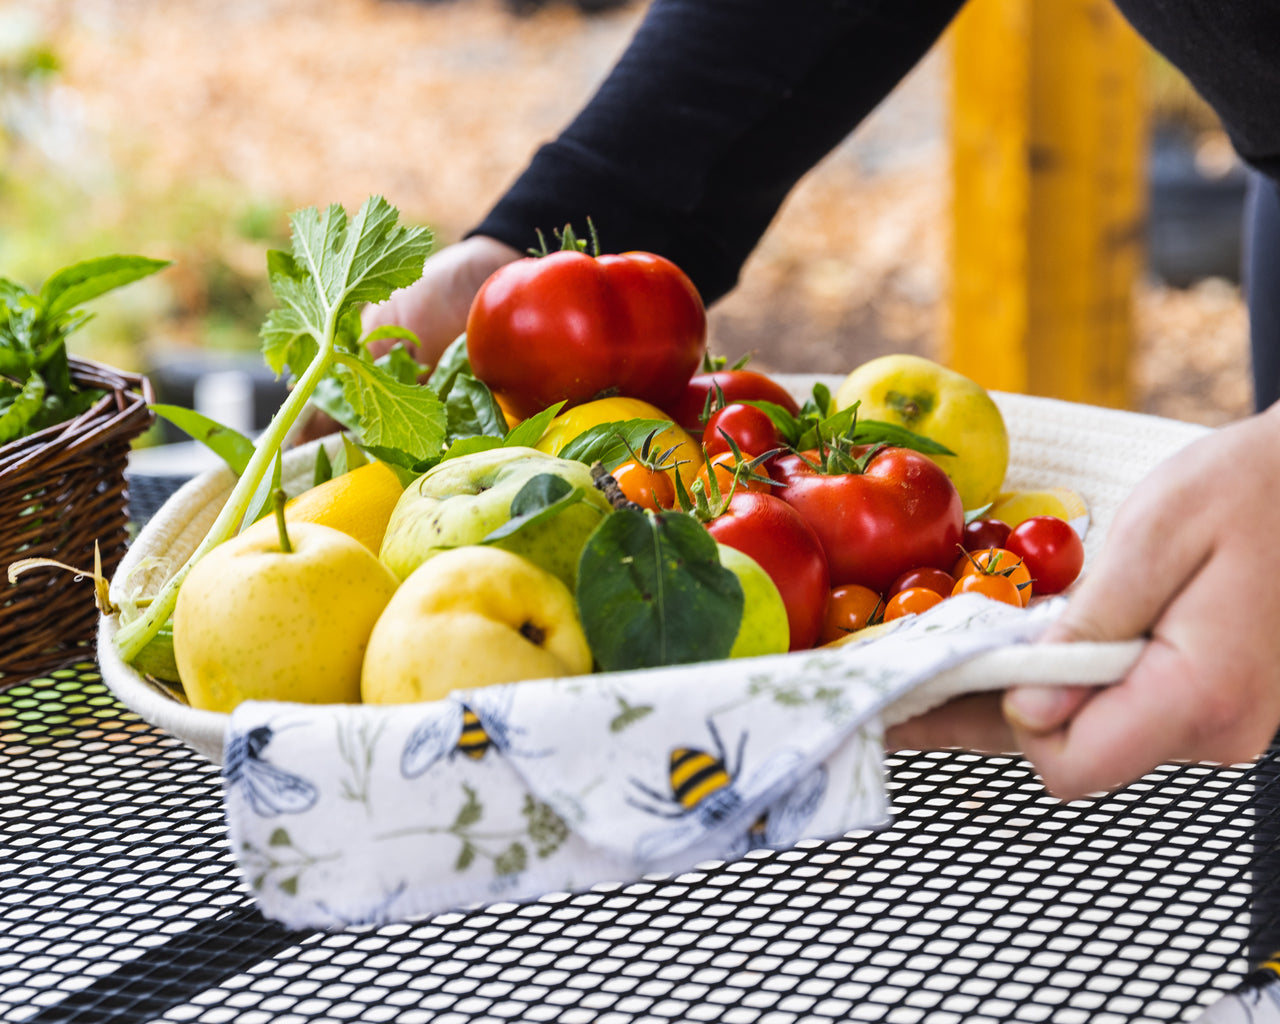
What’s the best part about having an abundant garden? Sharing it with friends and family, of course. There are many options when it comes to sharing what you’ve gathered from your garden, but we love hosting garden swaps, as it’s a great opportunity to share with others while also receiving items that you may not have been able to grow yourself.
The rules for a harvest swap are simple: bring something from your garden that you can have an excess of to share with others. Tomatoes, peppers of all varieties, zucchini, peas, and lettuce can pile up quickly once the summer starts to wind down. If your tomato plants struggled to take off or you decided not to plant zucchini, this is a great opportunity to stock up these delicious items thanks to your friends and family.
So gather your friends and family and ask them to participate in a harvest swap! We promise, you’ll love it.

